TIPS & TRICKS
Precautions for storage
and use
SinusJet® is to be used solely for conduct of one or more sinus lifts in a given patient with residual bone height of between 4 and 8 mm. It cannot be used in another context.
To start, you will need the following :
- A motorised contra-angle handpiece With internal irrigation
- Physiological serum
- An irrigation insert to be assembled in the motorised contra-angle handpiece (see opposite)
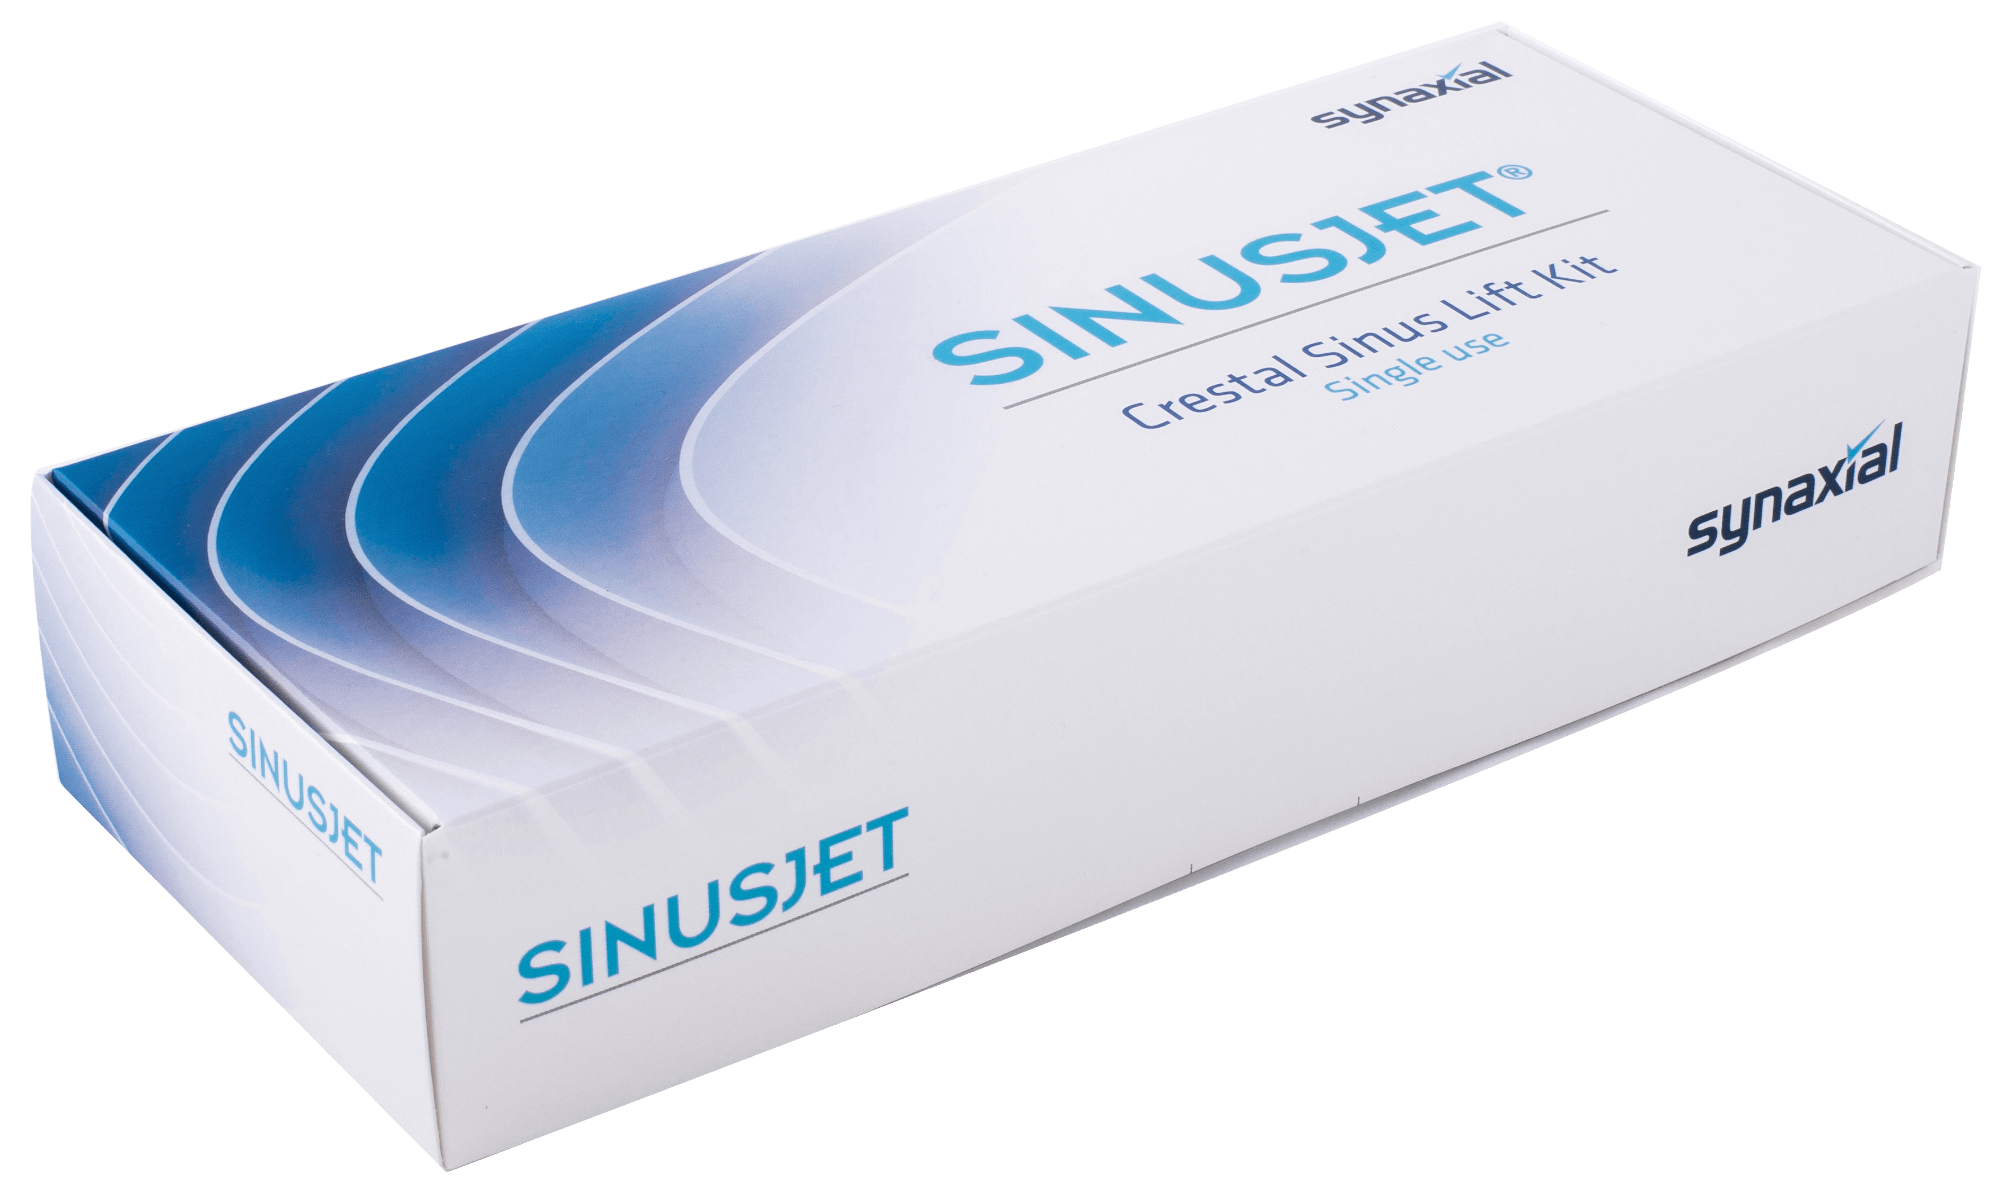
- A SinusJet® Crestal Sinus Lift Kit containing :
- A SinusJet® (1) with a universal connecting drill bit compatible with all contra-angle handpieces and with all systems such that the diameter of the implant planned is greater than 3.3 mm.
- An OssLift® (2) syringe bone substitute.
- An OssLift® Applicator (3) connector to be mounted on the OssLift® syringe.


Before the surgery
IMPORTANT
For proper use of the SinusJet® Crestal Sinus Lift Kit, please read the totality of this guide for start-up, as well as the instructions for use (IFU) of each component.
Also please explain beforehand the Valsalva manoeuvre to the patient, so that he/she breathes moderately at the proper time (see Valsalva tip).
Contra-angle handpiece and irrigation insert
- Introduce the internal irrigation insert in the contra-angle handpiece and connect it to the irrigation tube (without the Y).
- Insert the SinusJet® in the contra-angle handpiece.
- Make the contra-angle handpiece rotate at about 300 and 500 rpm and verify that the physiological saline flows properly via the SinusJet® sound holes. The flow should be continuous and about 60 cc/min.
PROCEDURE
1. Make a flapped or a flapless diameter size of the SinusJet® (3.3 mm).
2. Perform creation of a channel for access to the floor of the sinus using the SinusJet®. Check regularly the flow of liquid at the head of the SinusJet®, as well as backflowing** during progression.
3. Immediately stop whenever you feel a change in resistance while crossing the internal cortex and remove the SinusJet®.
4. Control the integrity of the sinus membrane by having the patient perform a moderate Valsalva manoeuvre or by direct visualisation in the mirror by the channel.

Valsalva tip
Reminder of the manoeuvre: using a sterile compress, pinch the patient’s nose. Ask him/her to breathe gently through the nose while maintaining his/her mouth open.
We advise to not perform suctioning of blood in the channel prior to the Valsalva manoeuvre. Thusly, you may visualise possible spattering of blood. If no blood spattering occurs, this is a probable sign that the membrane is intact. The procedure then can continue. If not, the intervention should be stopped and you should start over again 3 months later.
5. Remove the cap from the OssLift® syringe (2).

Screw the Applicator (3) on the OssLift® syringe (2).
6. Advance the OssLift® up to the end of the Applicator.
7. Insert the end of the Applicator in the channel while injecting a first dose of OssLift® in order to put the membrane at a distance from the floor of the sinus. A slight reflux of OssLift® is possible. This is a probable sign of an intact membrane. A total reflux indicates that the floor of the sinus has not been reached. In this case, carefully repeat steps 2 to 7.
8. Replace the SinusJet® by the last drill bit in the implant sequence. Ream out the channel to the diameter of the implant to be installed (see opposite).
9. Insert the end of the Applicator into the channel and perform a second injection of OssLift® in order to increase uplifting of the sinus membrane.
10. Insert the implant, by following the procedure specified by its manufacturer.
11. Ossification of the graft will take place after about 6 to 12 months, depending on its size.
12. The crown may be installed depending on progression of ossification.
